Linux Delhi India Linux Users Group – Delhi

Linux Mint is a Linux distribution that is growing rapidly in popularity, thanks in large part to its ease-of-use and simplistic, clean design which was made to make it easy for users of Windows to make the switch. Like most Linux distributions, it is free to download and install as many times as you’d like, on as many machines as you’d like. The Linux installation process has become much more streamlined over the years, and in some ways is even simpler than Windows. See Step 1 below to learn how to install and use Linux Mint.
Part -1
Preparing the Installation DVD
-
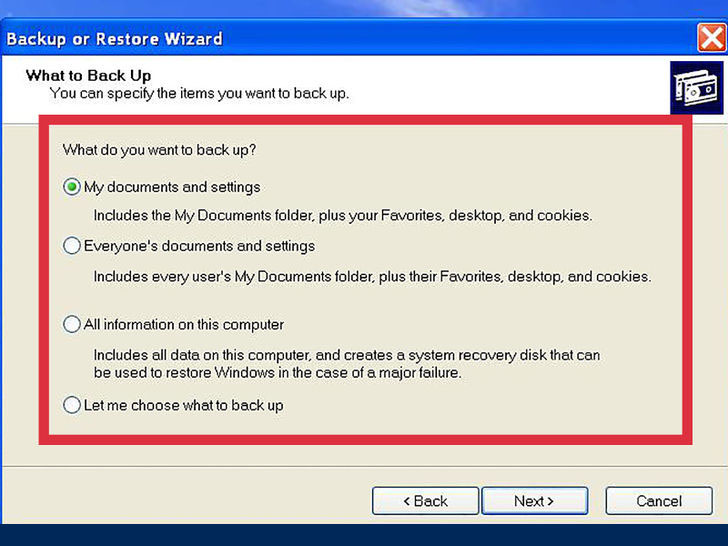
Backup your data. If you are installing Linux Mint over your current operating system, you will lose any data stored on the hard drive. Make sure that all of your important documents and files are securely backed up before starting the installation process. See this guide for details on the best ways to backup your data.
2. Download the Linux Mint ISO. An ISO file is a disk image that you can burn to a DVD. The ISO is available for free from the Linux Mint website, though the download is on the large size. Depending on the speed of your connection, it may take a while for the download to complete.
- There are several options when you visit the Downloads page of the Linux Mint website. Most users will want to choose the “Cinnamon” version located at the top of the list. This is the default desktop style for Linux Mint. There are other options available for more advanced users.
- You will need to ensure that you select the correct version for your system architecture: 32-bit or 64-bit. See this guide for details on how to determine what kind of hardware you have in Windows, and this guide for Ubuntu.

3. Download an image burning program. In order to copy the ISO file to a DVD, you will need an image burning program. One of the more popular free options is ImgBurn, though there are a variety of others from companies such as Nero.
- If you are running Windows 7 or 8, you can use Windows’ built-in burning software. Right-click on the ISO file and select “Burn disc image”.

4. Burn the disc. Use your image burning software to select your DVD recorder drive with a blank DVD in it. If necessary, select the downloaded ISO file as the source file (this isn’t necessary if you right-clicked on the file to use Windows’ burning software). Click the Burn button to begin the burning process. This may take several minutes to complete.

part-2
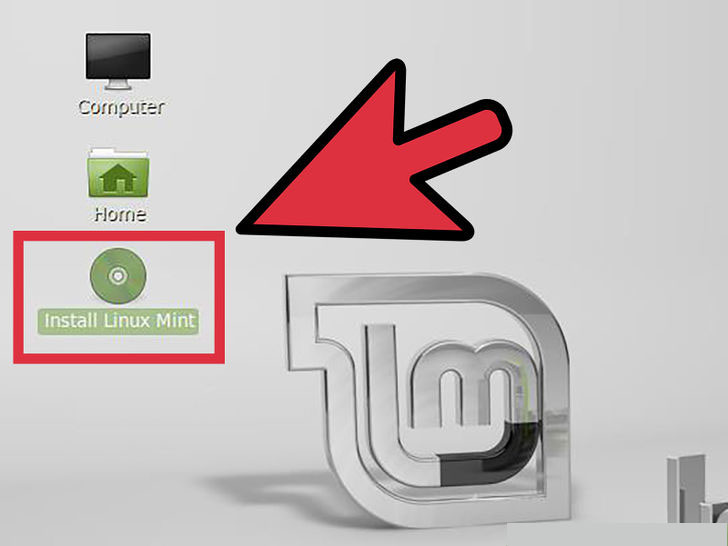
Installing Linux Mint
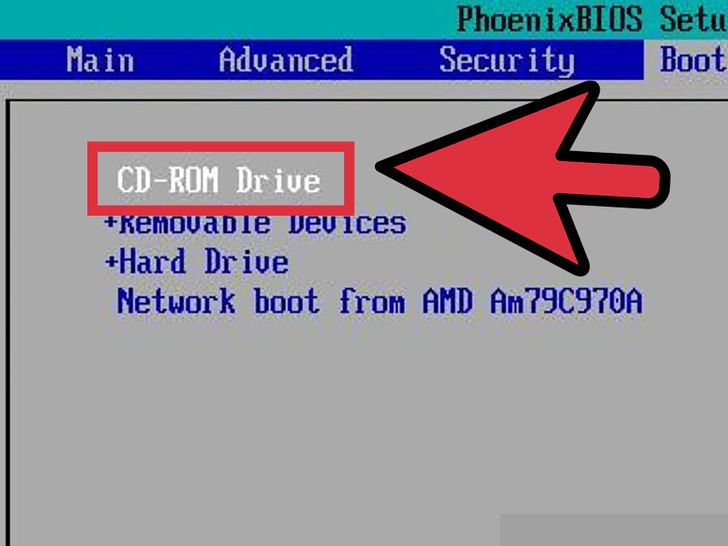
1. Set your computer to boot from your DVD drive. In order to run the Linux Mint disc, you will need to boot from it instead of your hard drive. You can use your computer’s BIOS menu to change the boot order. See this guide for instructions on opening the BIOS menu.
- Once in the BIOS, look for the Boot menu. Change the boot order so that your DVD drive boots before your hard drive. This will ensure that your disc is loaded first before your existing operating system.
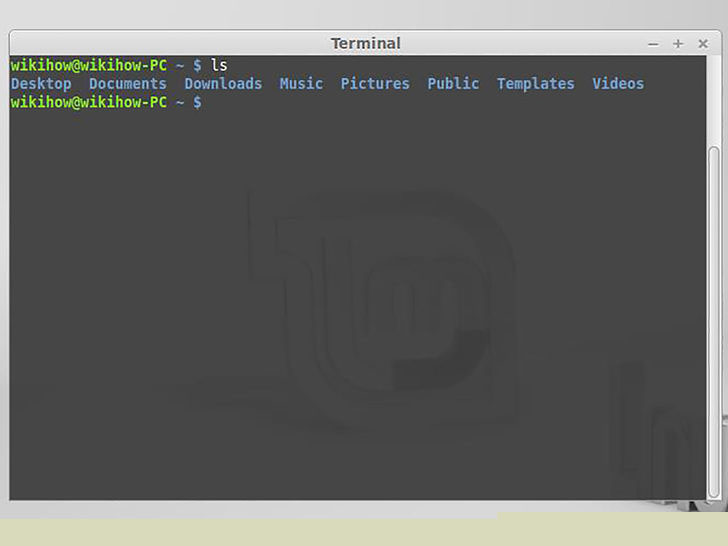
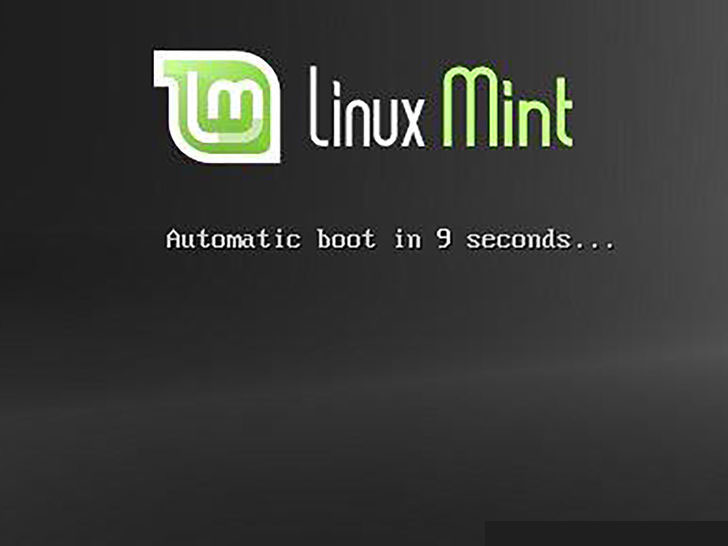
2. Start the Linux Mint live system. When your computer boots from the Linux Mint DVD that you created, you will be greeted with a short list of options. Select “Start Linux Mint” to boot the Linux Mint operating system from the DVD.
- This does not install Linux Mint. Booting the operating system from the DVD allows you to test out Linux Mint and see how you like it before committing to the installation. You will not be able to change any settings or delete or create files while in the preview mode, but it is a good way to get used to how Linux Mint works.
- When running Mint from the DVD, it will run slower than if it was installed. Keep this in mind when using it, as the installed version will perform much better than the preview.
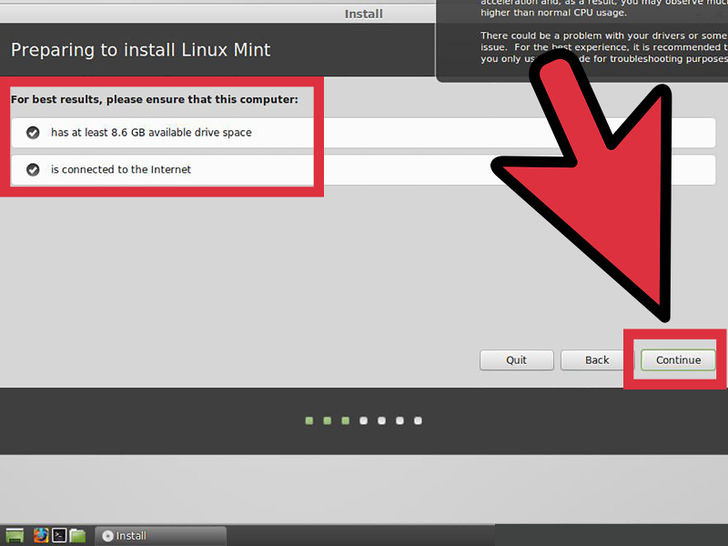
4. Review the basic installer requirements. In order to use the bundled installer, you will need to have at least 3.5 GB of free hard disk space as well as an active internet connection.
- If you are installing Mint on a laptop, ensure that it is connected to a power source during the installation.
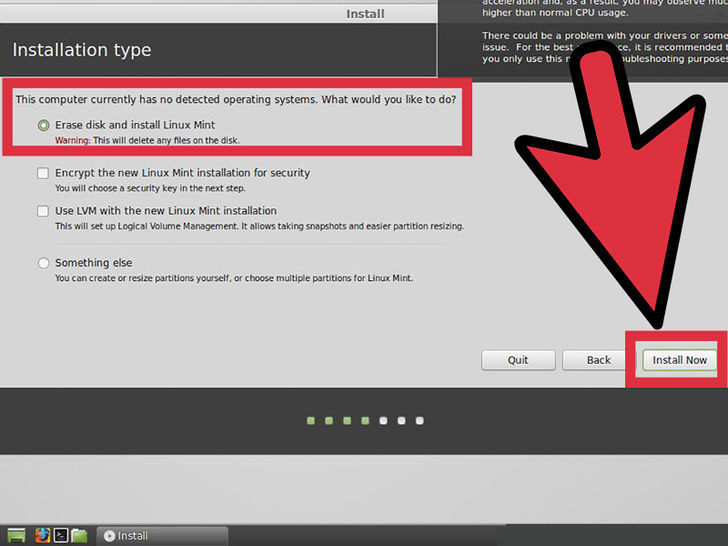
5. Choose your installation type. The next screen will allow you to choose what hard disk space you would like allotted to your Linux operating system. There are two main options to choose from:
- Erase disk and install Linux Mint – This option will delete all of the data on the selected disk and install Linux Mint on it. Any existing operating systems or data will be deleted. Use this option if you want Linux Mint to be the only operating system on your computer.
- Something else – This option will allow you to use the free space on your hard disk to create a separate Linux Mint partition, which will allow you to have Linux Mint installed alongside another operating system. This option also allows you to choose the size of the Linux partition.
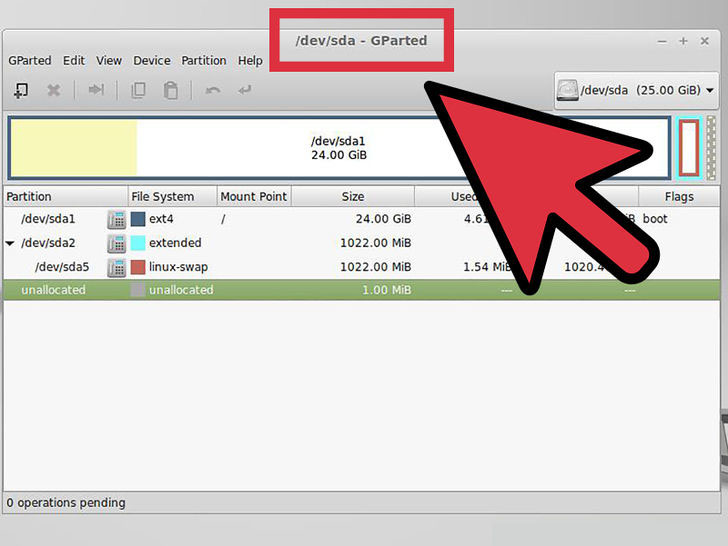
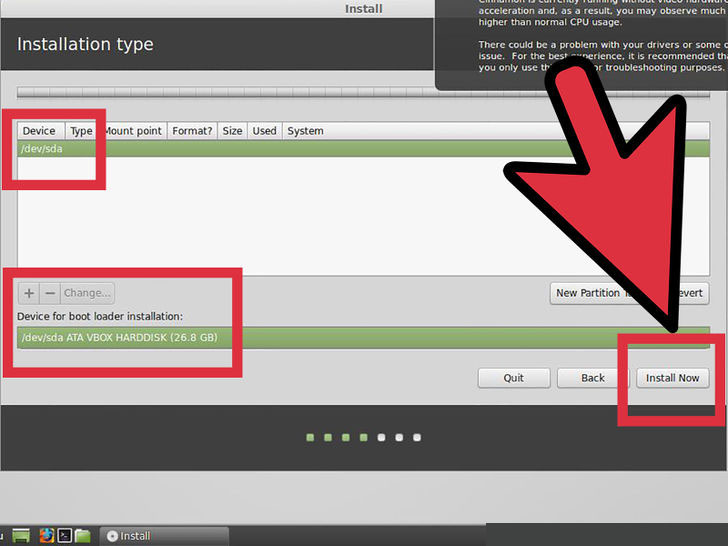
6. Specify the hard drive you want to install to. In the next screen, use the dropdown menu to choose which drive you want to install Linux to. If you chose the “Something else” option, you will be able tot use the slider to set the size of the Linux partition.
- Linux Mint requires at least a 6 GB partition, and the swap partitions should be 1.5 times the amount of RAM you have installed.
- If you selected the first option for the install type, the entirety of the selected disk will be deleted during the installation process.
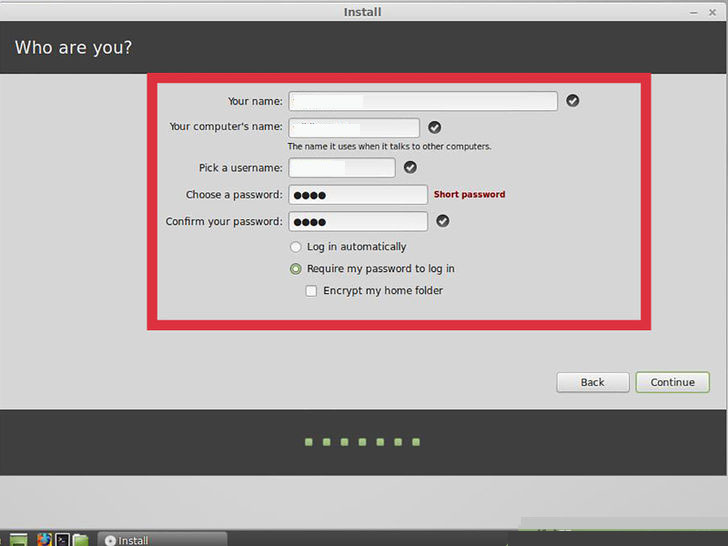
8. Create your user. After selecting your input preferences, you will be asked to enter your name and create a user. When you enter your name, your username and machine name will automatically fill with your first name. You can change your username to whatever you’d like.
- The machine name is the name your computer will display to other computers on the network.
- You will need to create a password as well. This username and password combination will be your administrator account, and will need to be entered when making changes to the system
- You can opt to login automatically or be prompted for the username and password. Choose the option that works best for your security needs.
- You will be able to create more users after the installation has finished.
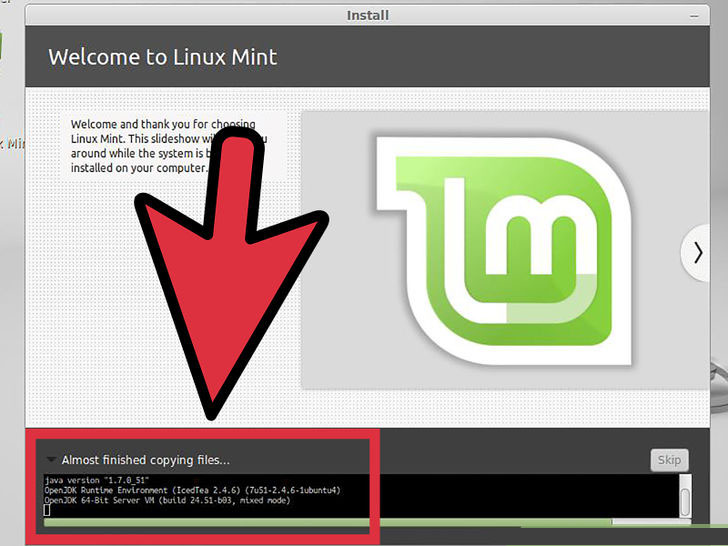
9. Wait for the installation is complete. After entering in your information, Linux Mint will begin copying files. You can monitor the progress by looking at the bar at the bottom of the window. After the files are copied, installation will begin and your hardware will be configured.
- This process may take a while, especially on older machines. It’s all automated from this point on, so you can leave and come back if you need to.
- The installer will download additional files during the installation process, so you will need a valid network connection.
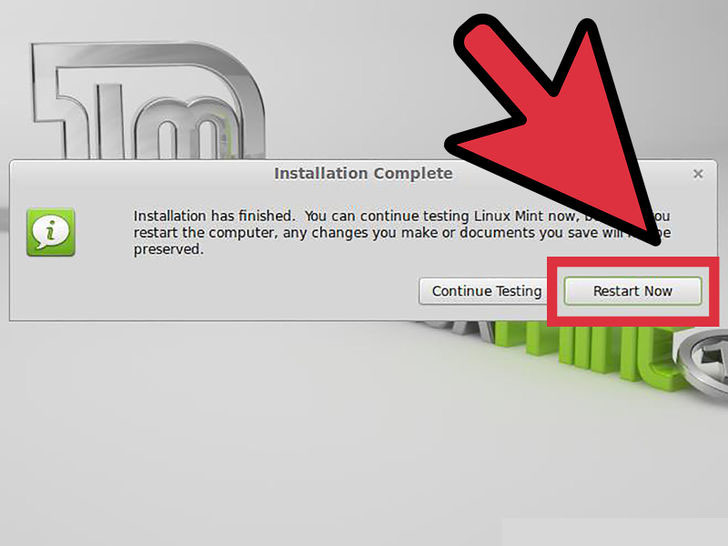
10. Click “Restart Now”. Once installation is complete, you will be prompted to restart your computer. Click the “Restart Now” button to reboot your computer and load your newly-installed operating system.
Part -3
Configuring Linux Mint
- Boot into Linux Mint. Depending on how you installed Linux Mint, you may be given the option to select it from a list of installed operating systems, or your computer may boot directly to Mint. Either way, start up Linux Mint and log in to your account to get to the desktop.
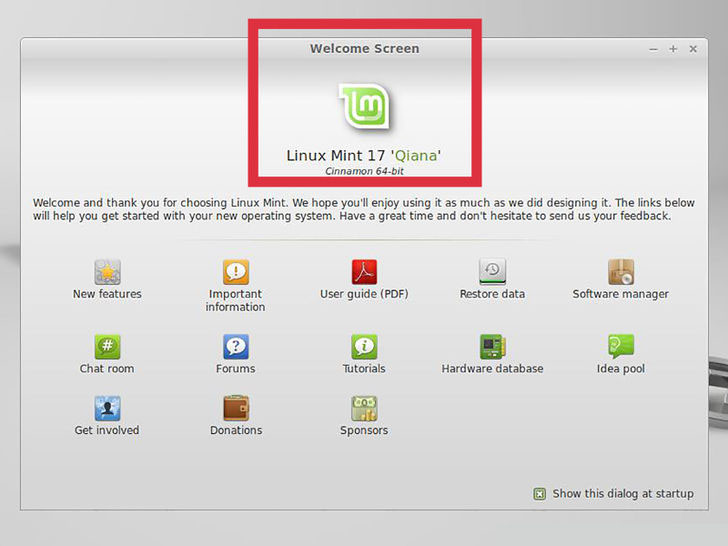
2. Review the Welcome screen. When Linux Mint first starts, you will be greeted by the Welcome screen. This contains links to user guides and tutorials, so take some time and look through the available resources.
- This window will appear every time Linux Mint starts unless you uncheck the box in the lower-right corner.
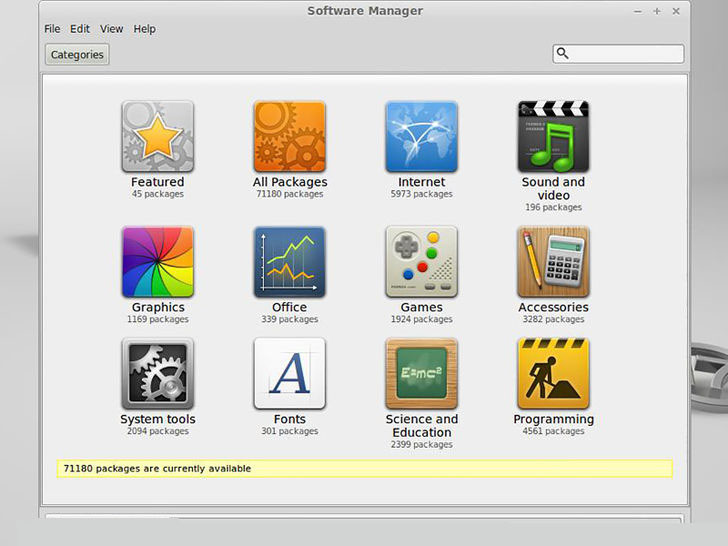
4. Install more programs. Mint comes with a few essential programs installed, such as Firefox, LibreOffice, GIMP Image Editor, and VLC Player. You can install a variety of other programs as well, most of them for free. To do so, click the Menu button, hover over Administration, and select Software Manager.
- You will be asked for the administrator password.
- Programs are sorted by category, but you can also search for specific programs. Keep in mind that most Windows and Mac programs are not available for Linux, so you will need to find alternatives that perform the same functions.
- Double-click a program to open up details. Here you can see the size as well as reviews from other users. Click the Install button to begin downloading the program.
- You can see the progress of your installations by monitoring the bar at the bottom of the window.